Silverbook /
Recipes+

Silverbook /
Recipes+


We hope you will find this guide on, how to get started with Silverbook / Recipes+, useful.
The following images will show you.
If not, find the step by step guide below the images.

Select the "Recipe book" on the home page.
New index card template:
-> Click "+"
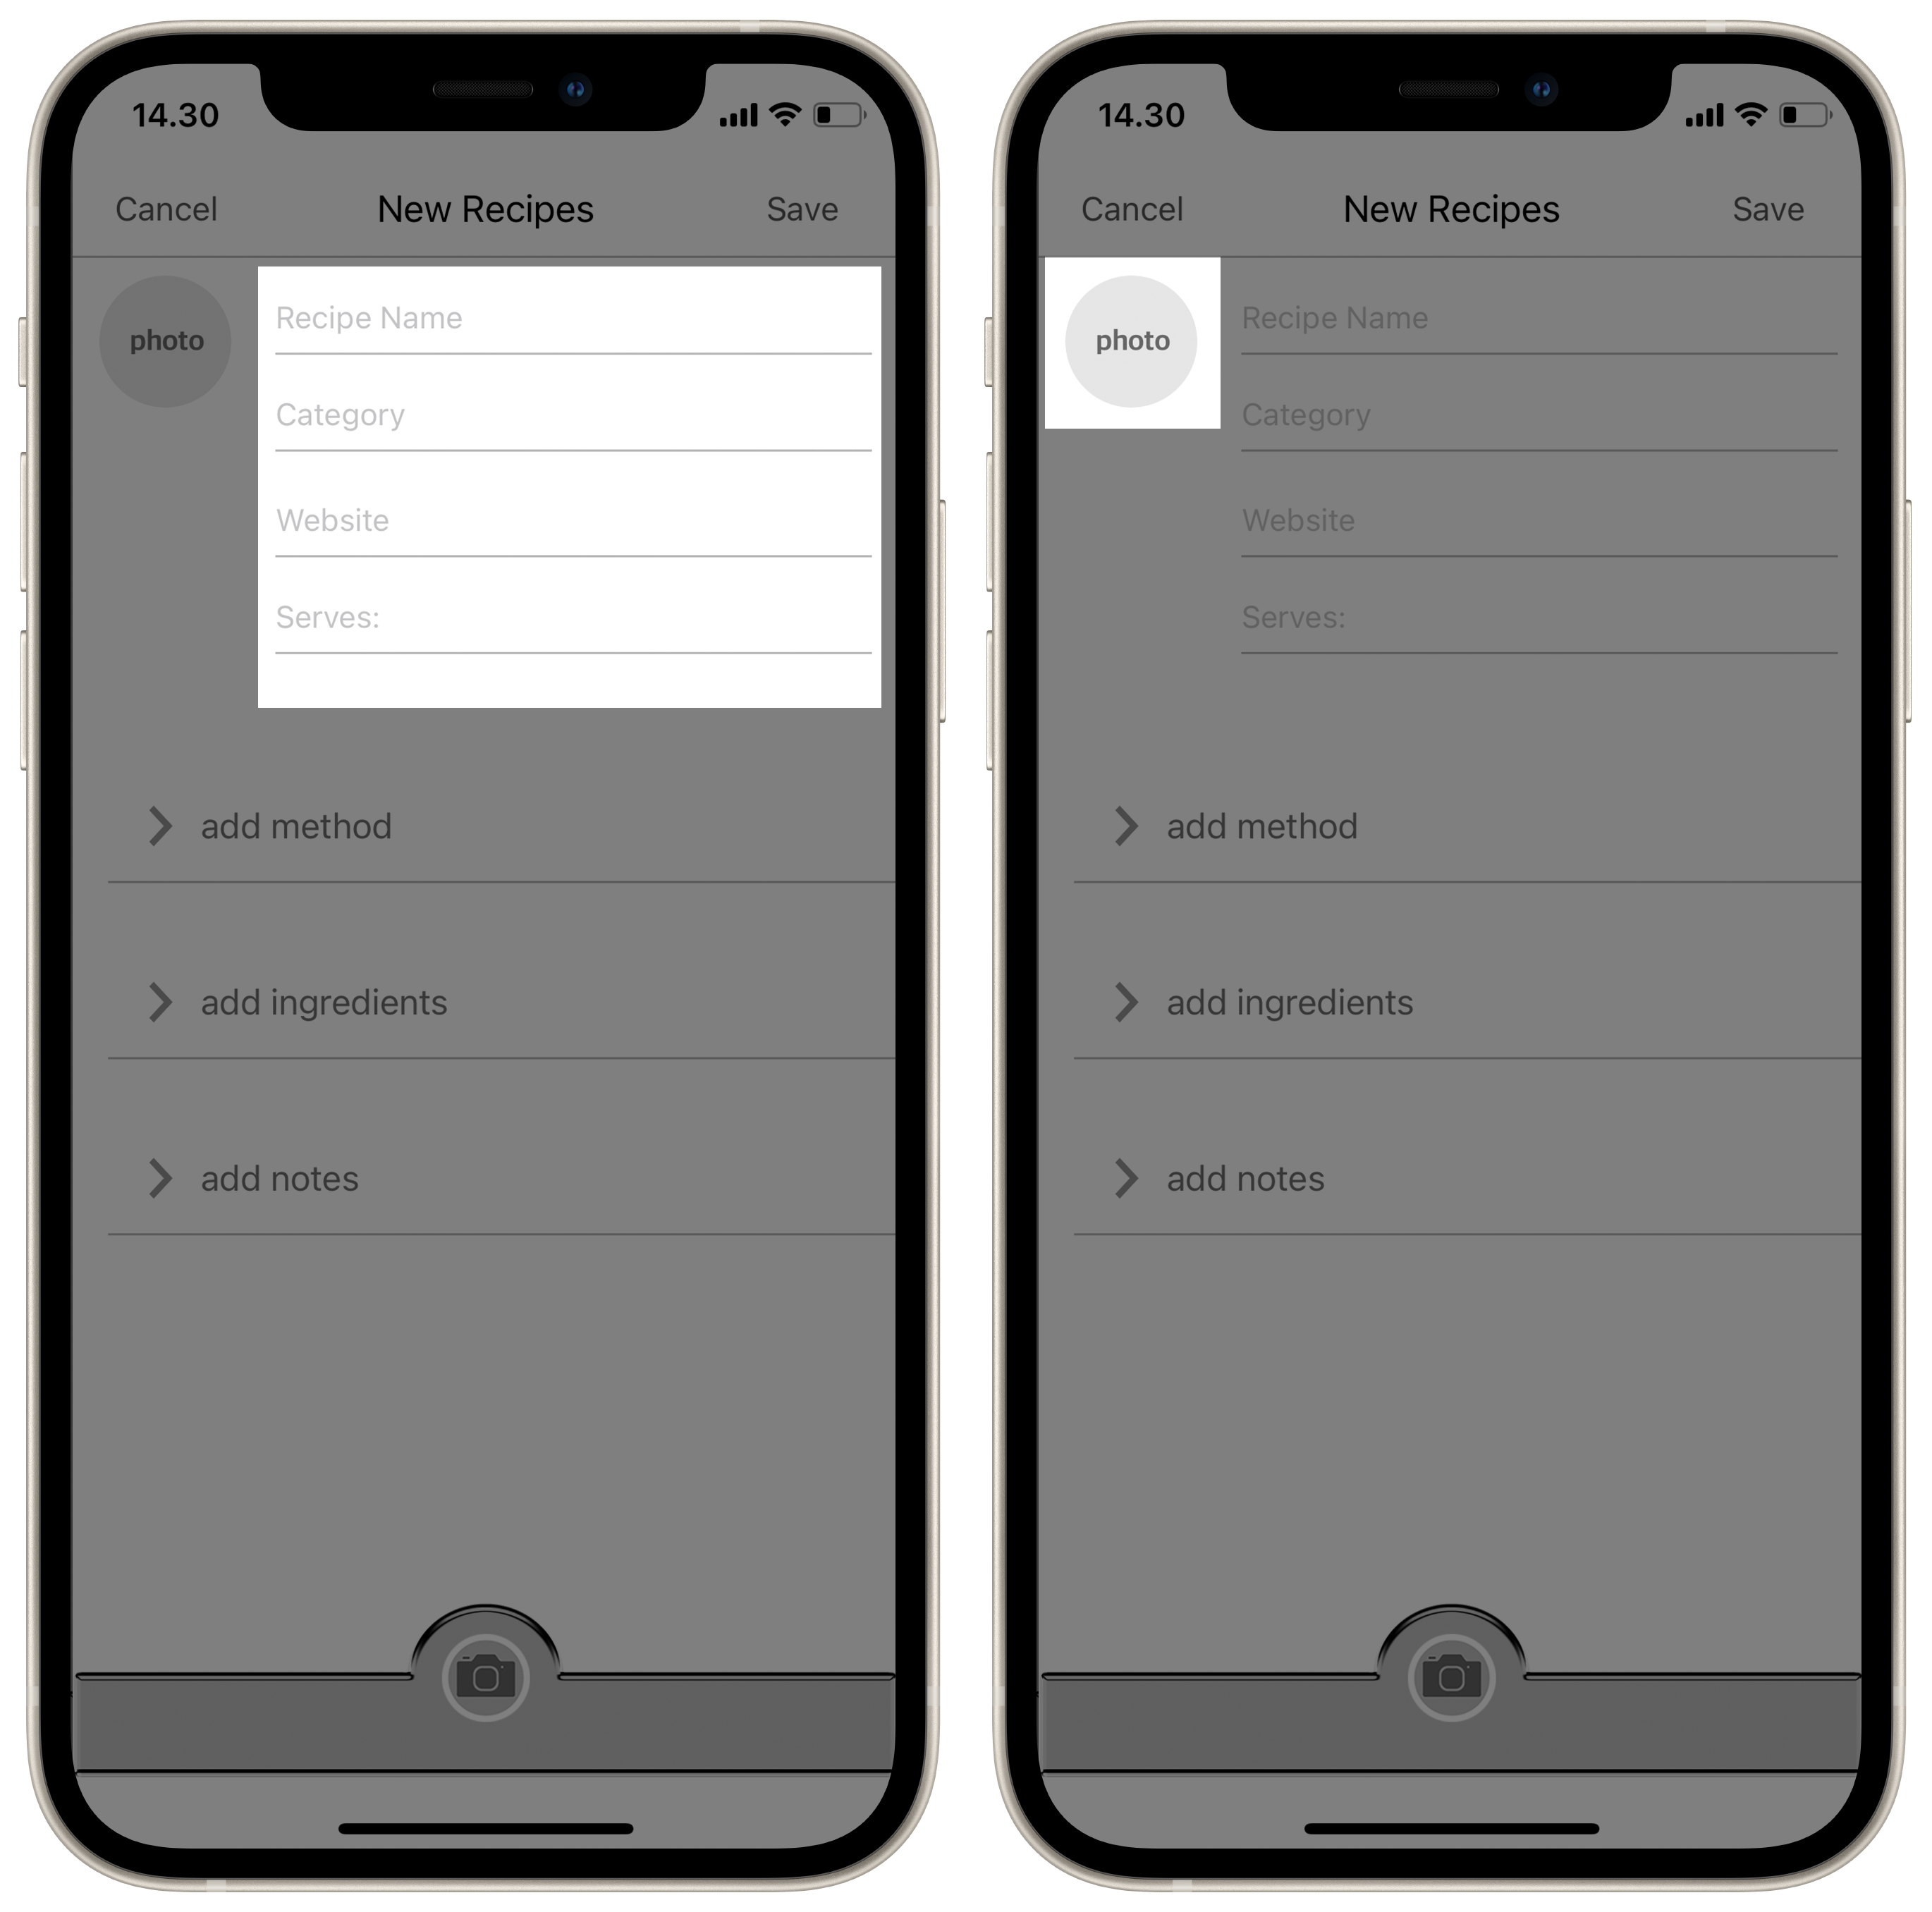
Name the recipe:
-> Name
Categorise the recipe:
-> Category
Type for instance "Cakes" Next time you will only have to pick this category!
Type a website or leave the field blanc:
-> Website
Type the number of people this recipe serves:
-> Serves
-> Click "Done"
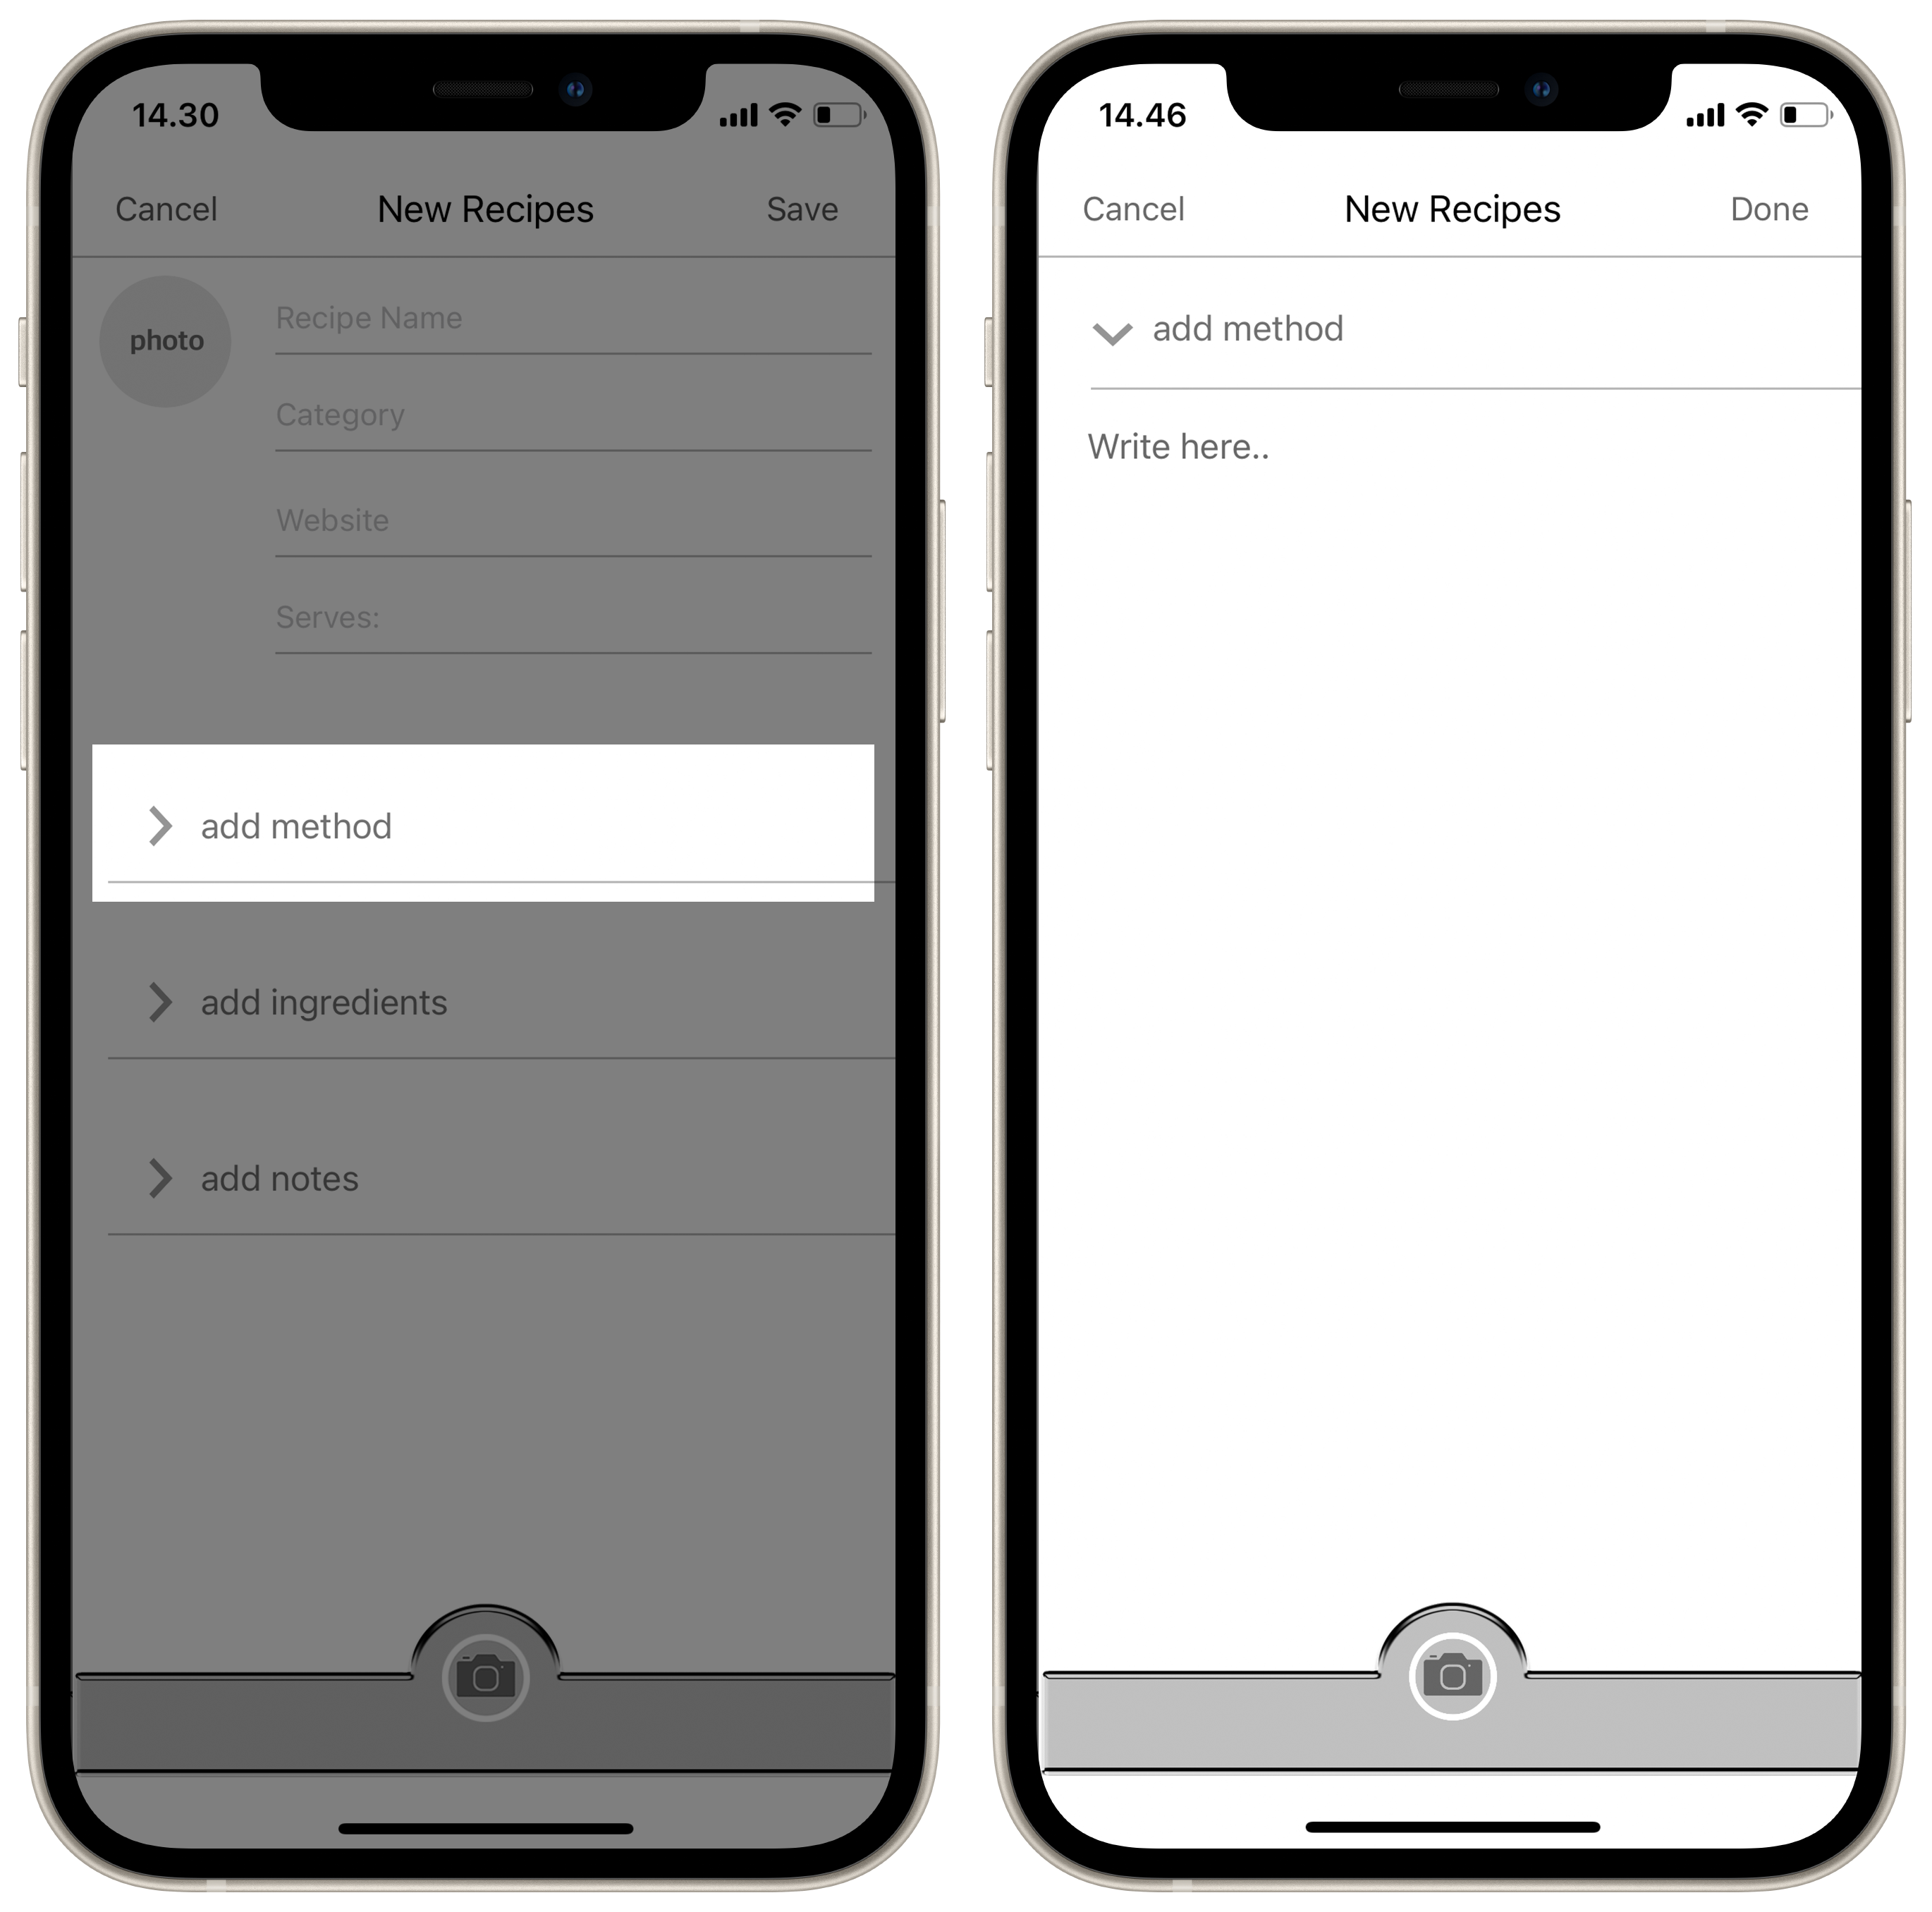
Type the method:
-> Click "add method"
Tip: You may copy a full recipe text into this field, including the ingrediens!
-> Click "Done"
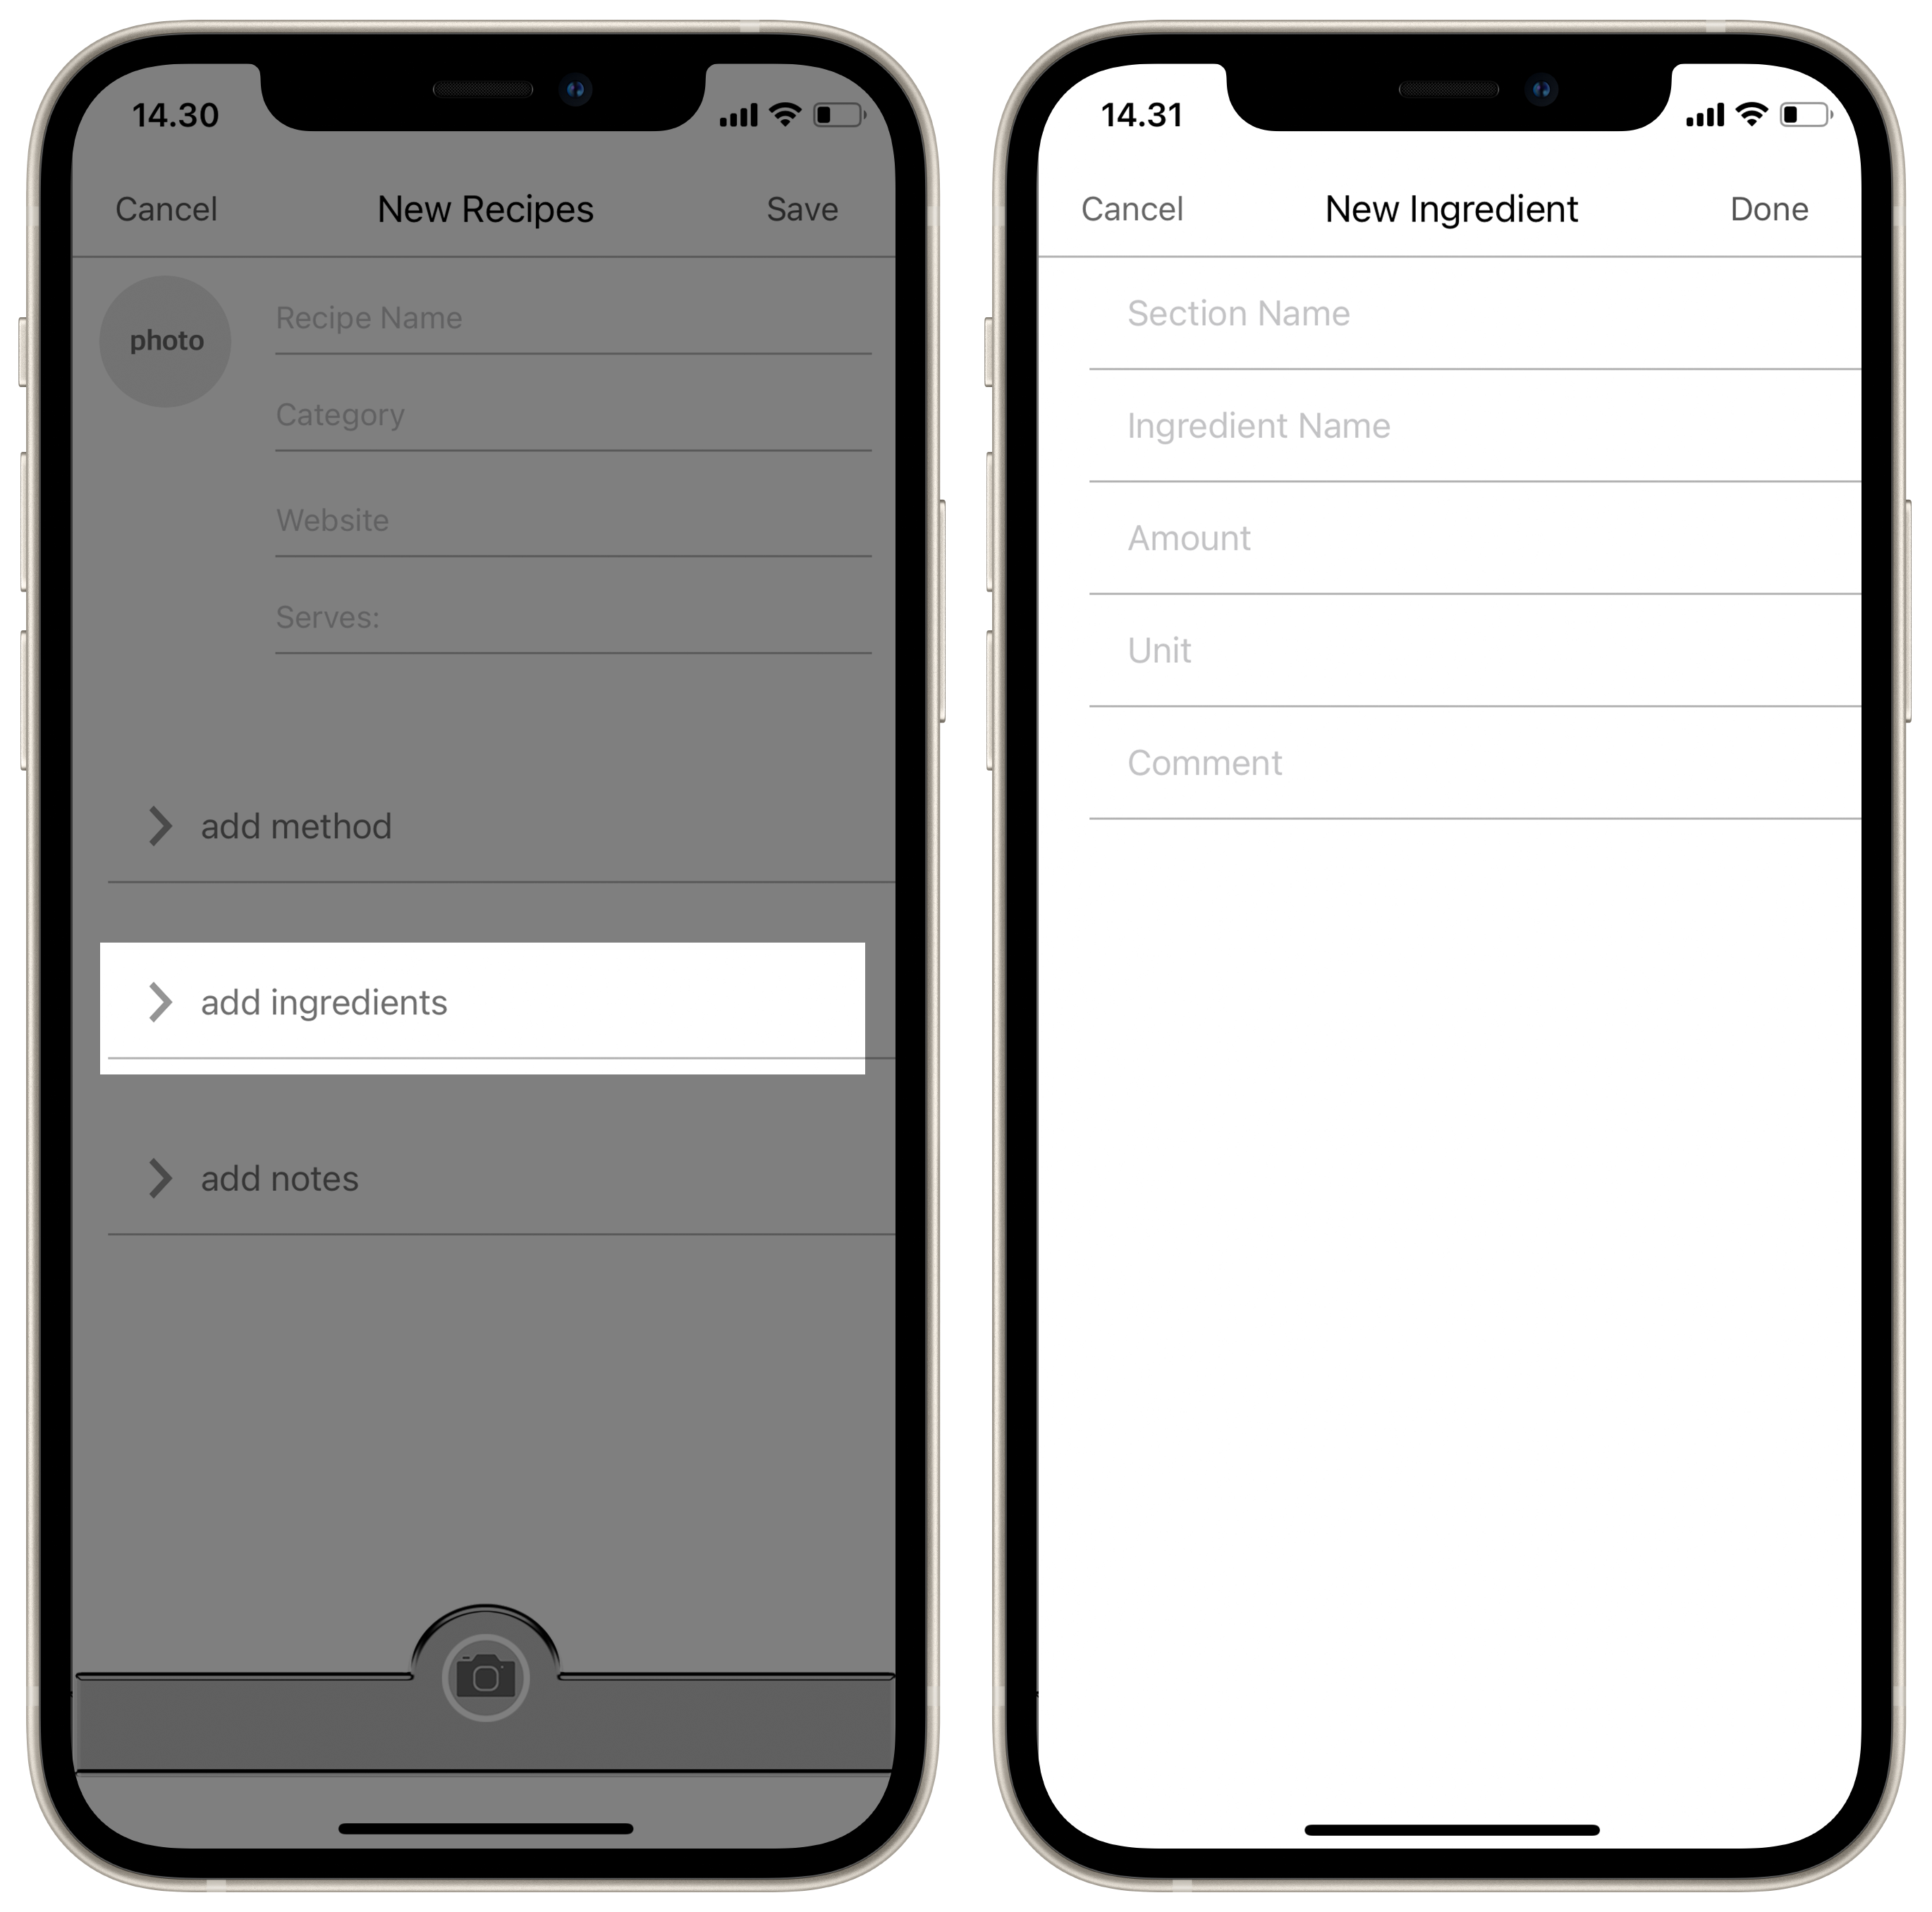
Type the ingredients:
-> Click "add ingredients" -> Click "+"
Tip: "Section Name" is the header for the different sections of the ingredients. An example of sections for a sponge cake with filling: "Sponge" and "Filling".
Add the next ingredient:
->Click "+"
When all the ingredients are added:
-> Click "Back"
-> Click "Done"
Fill in notes as you use the recipe and want to add separate notes:
-> Click "add notes"
To select a picture from the camera roll:
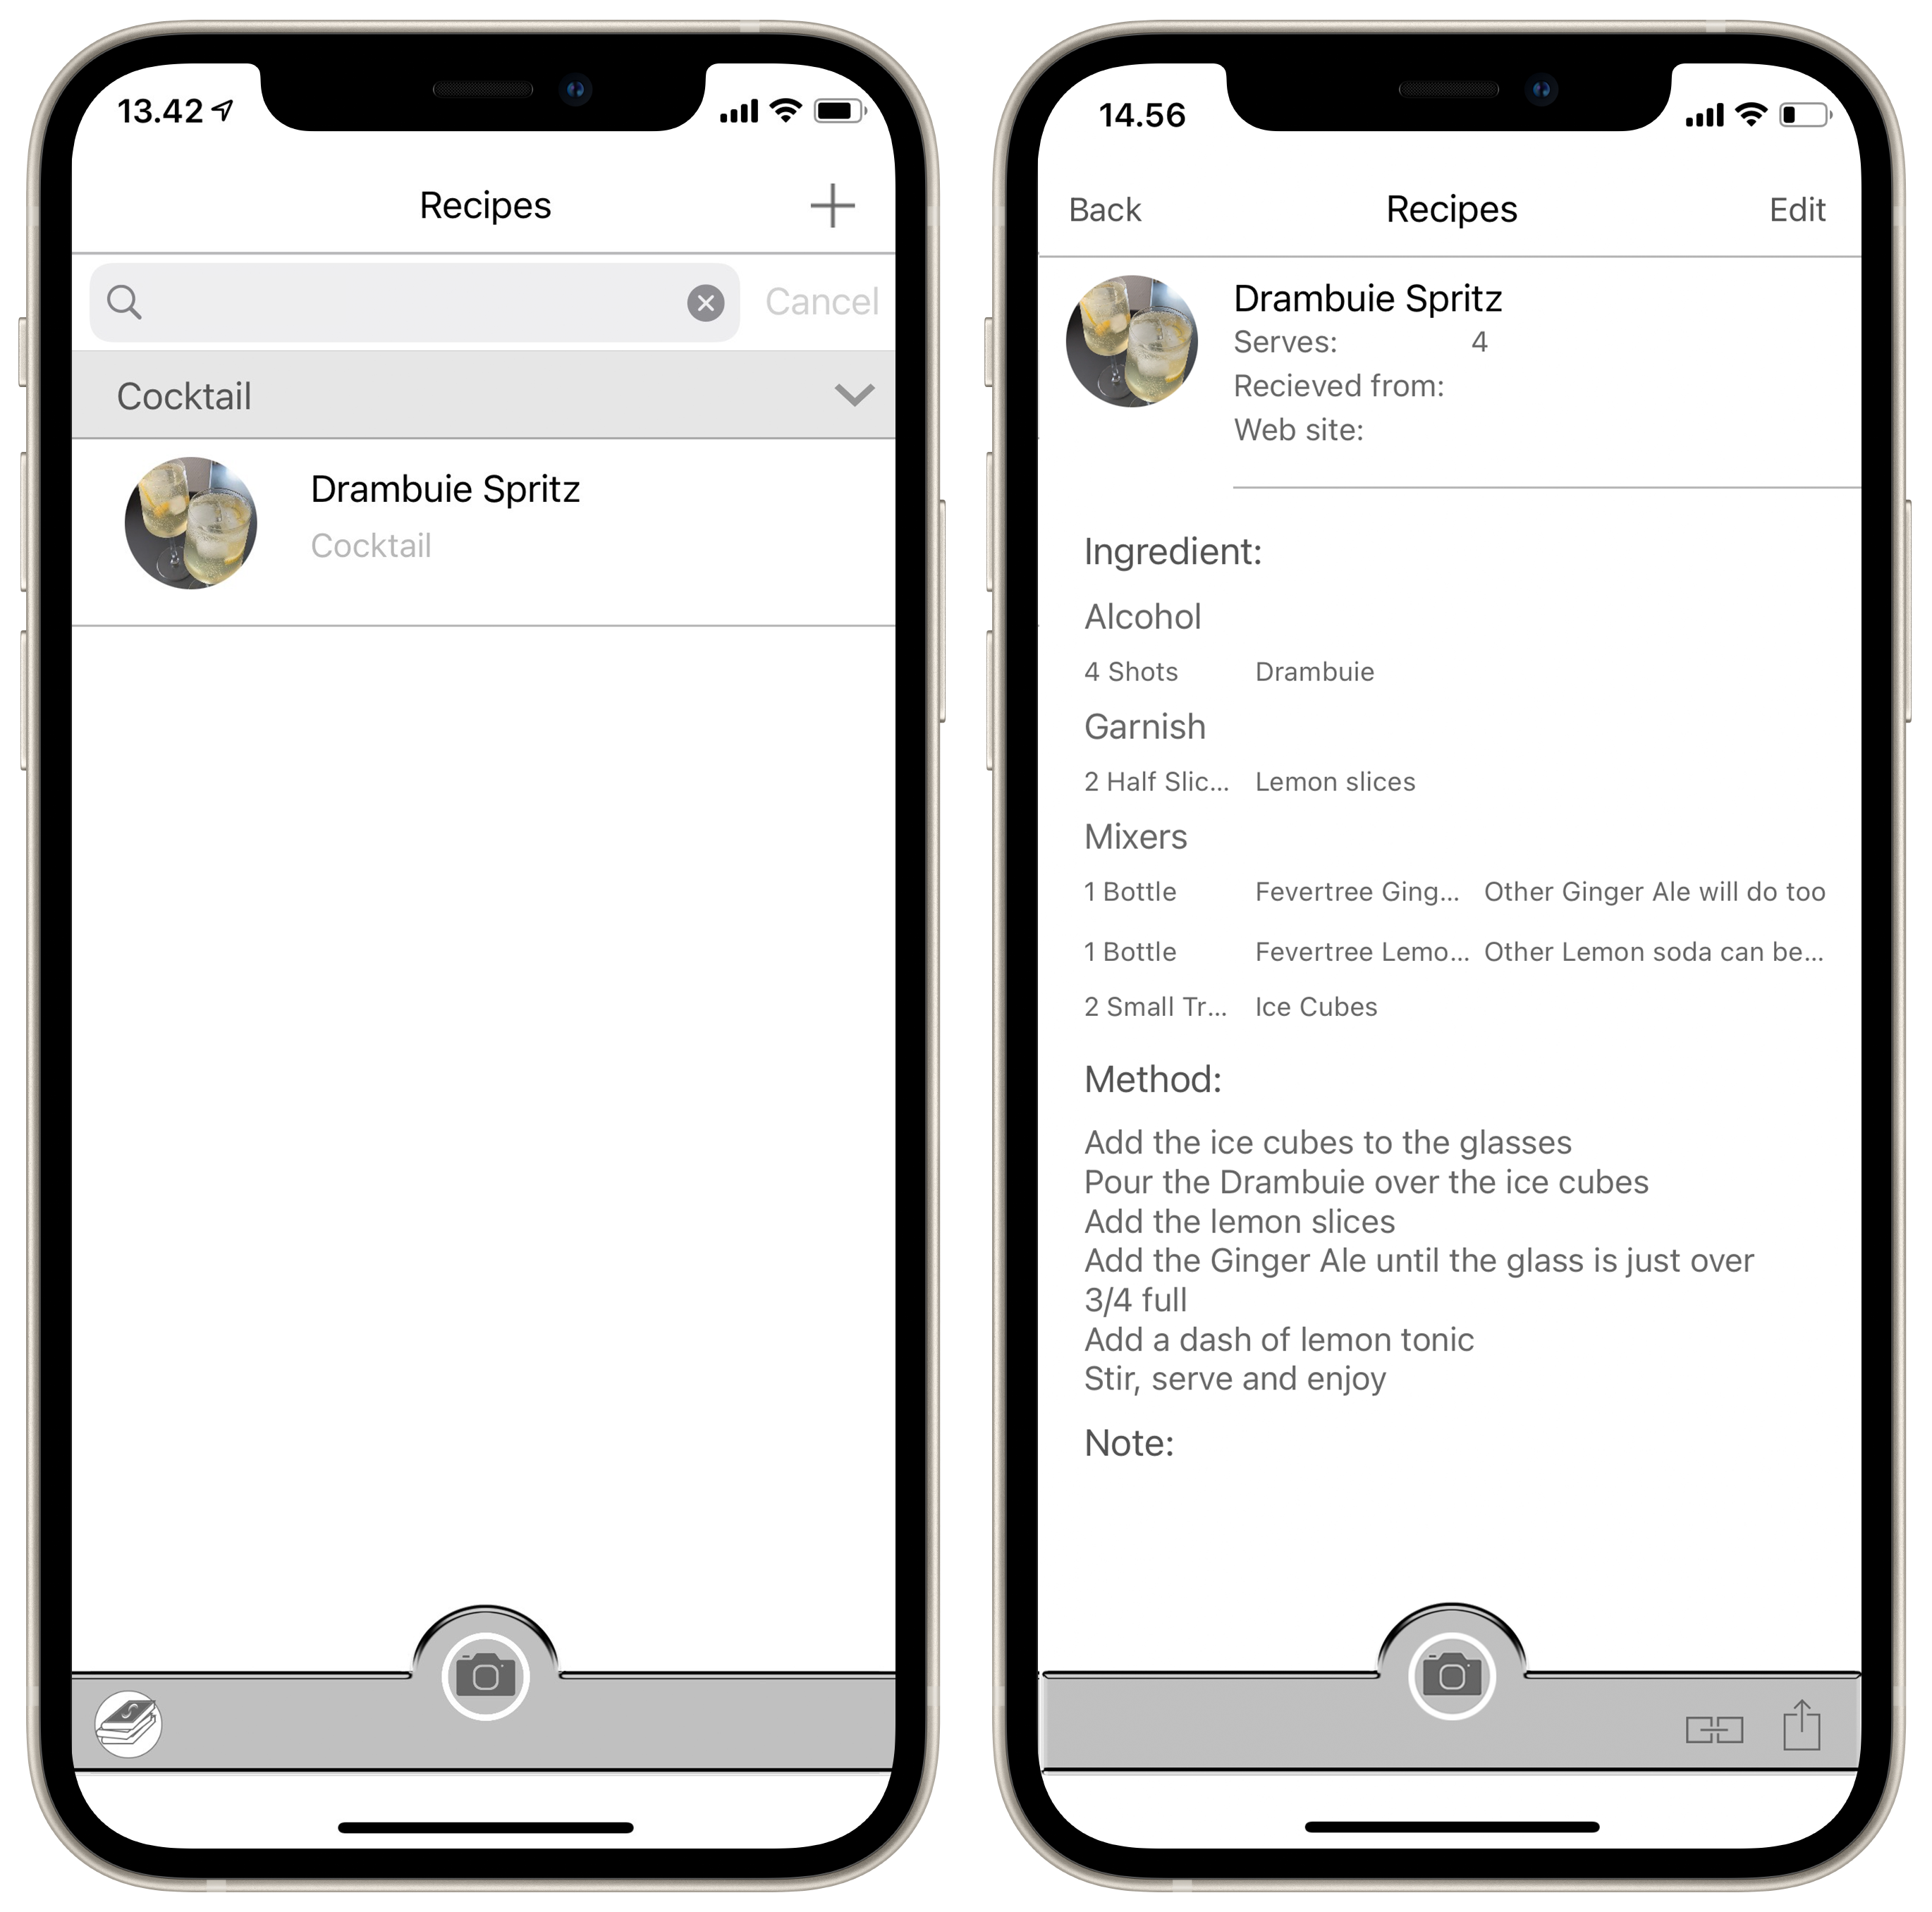
-> Click the "photo" icon and select a picture from the camera roll -> Save it.
-> "Save" the recipe.
And that's it, you have now created a recipes!
The following images will show you.
If not, find the step by step guide below the images.


Share:
On all your index cards, you'll find the "Share button" on the bottom right corner.
It is as easy as clicking the "Share button" and pick a recipient in your contacts.
Receive:
When you recieve an index card, click on the txt.file and wait a moment.
The txt.file will open. You'll now find the "Share button" on the bottom left corner, click it and select the app you wish to open the txt.file in.
If the required app is not visible slide to the left to find "More".
That's all there is to it!
The following images will show you.
If not, find the step by step guide below the images.

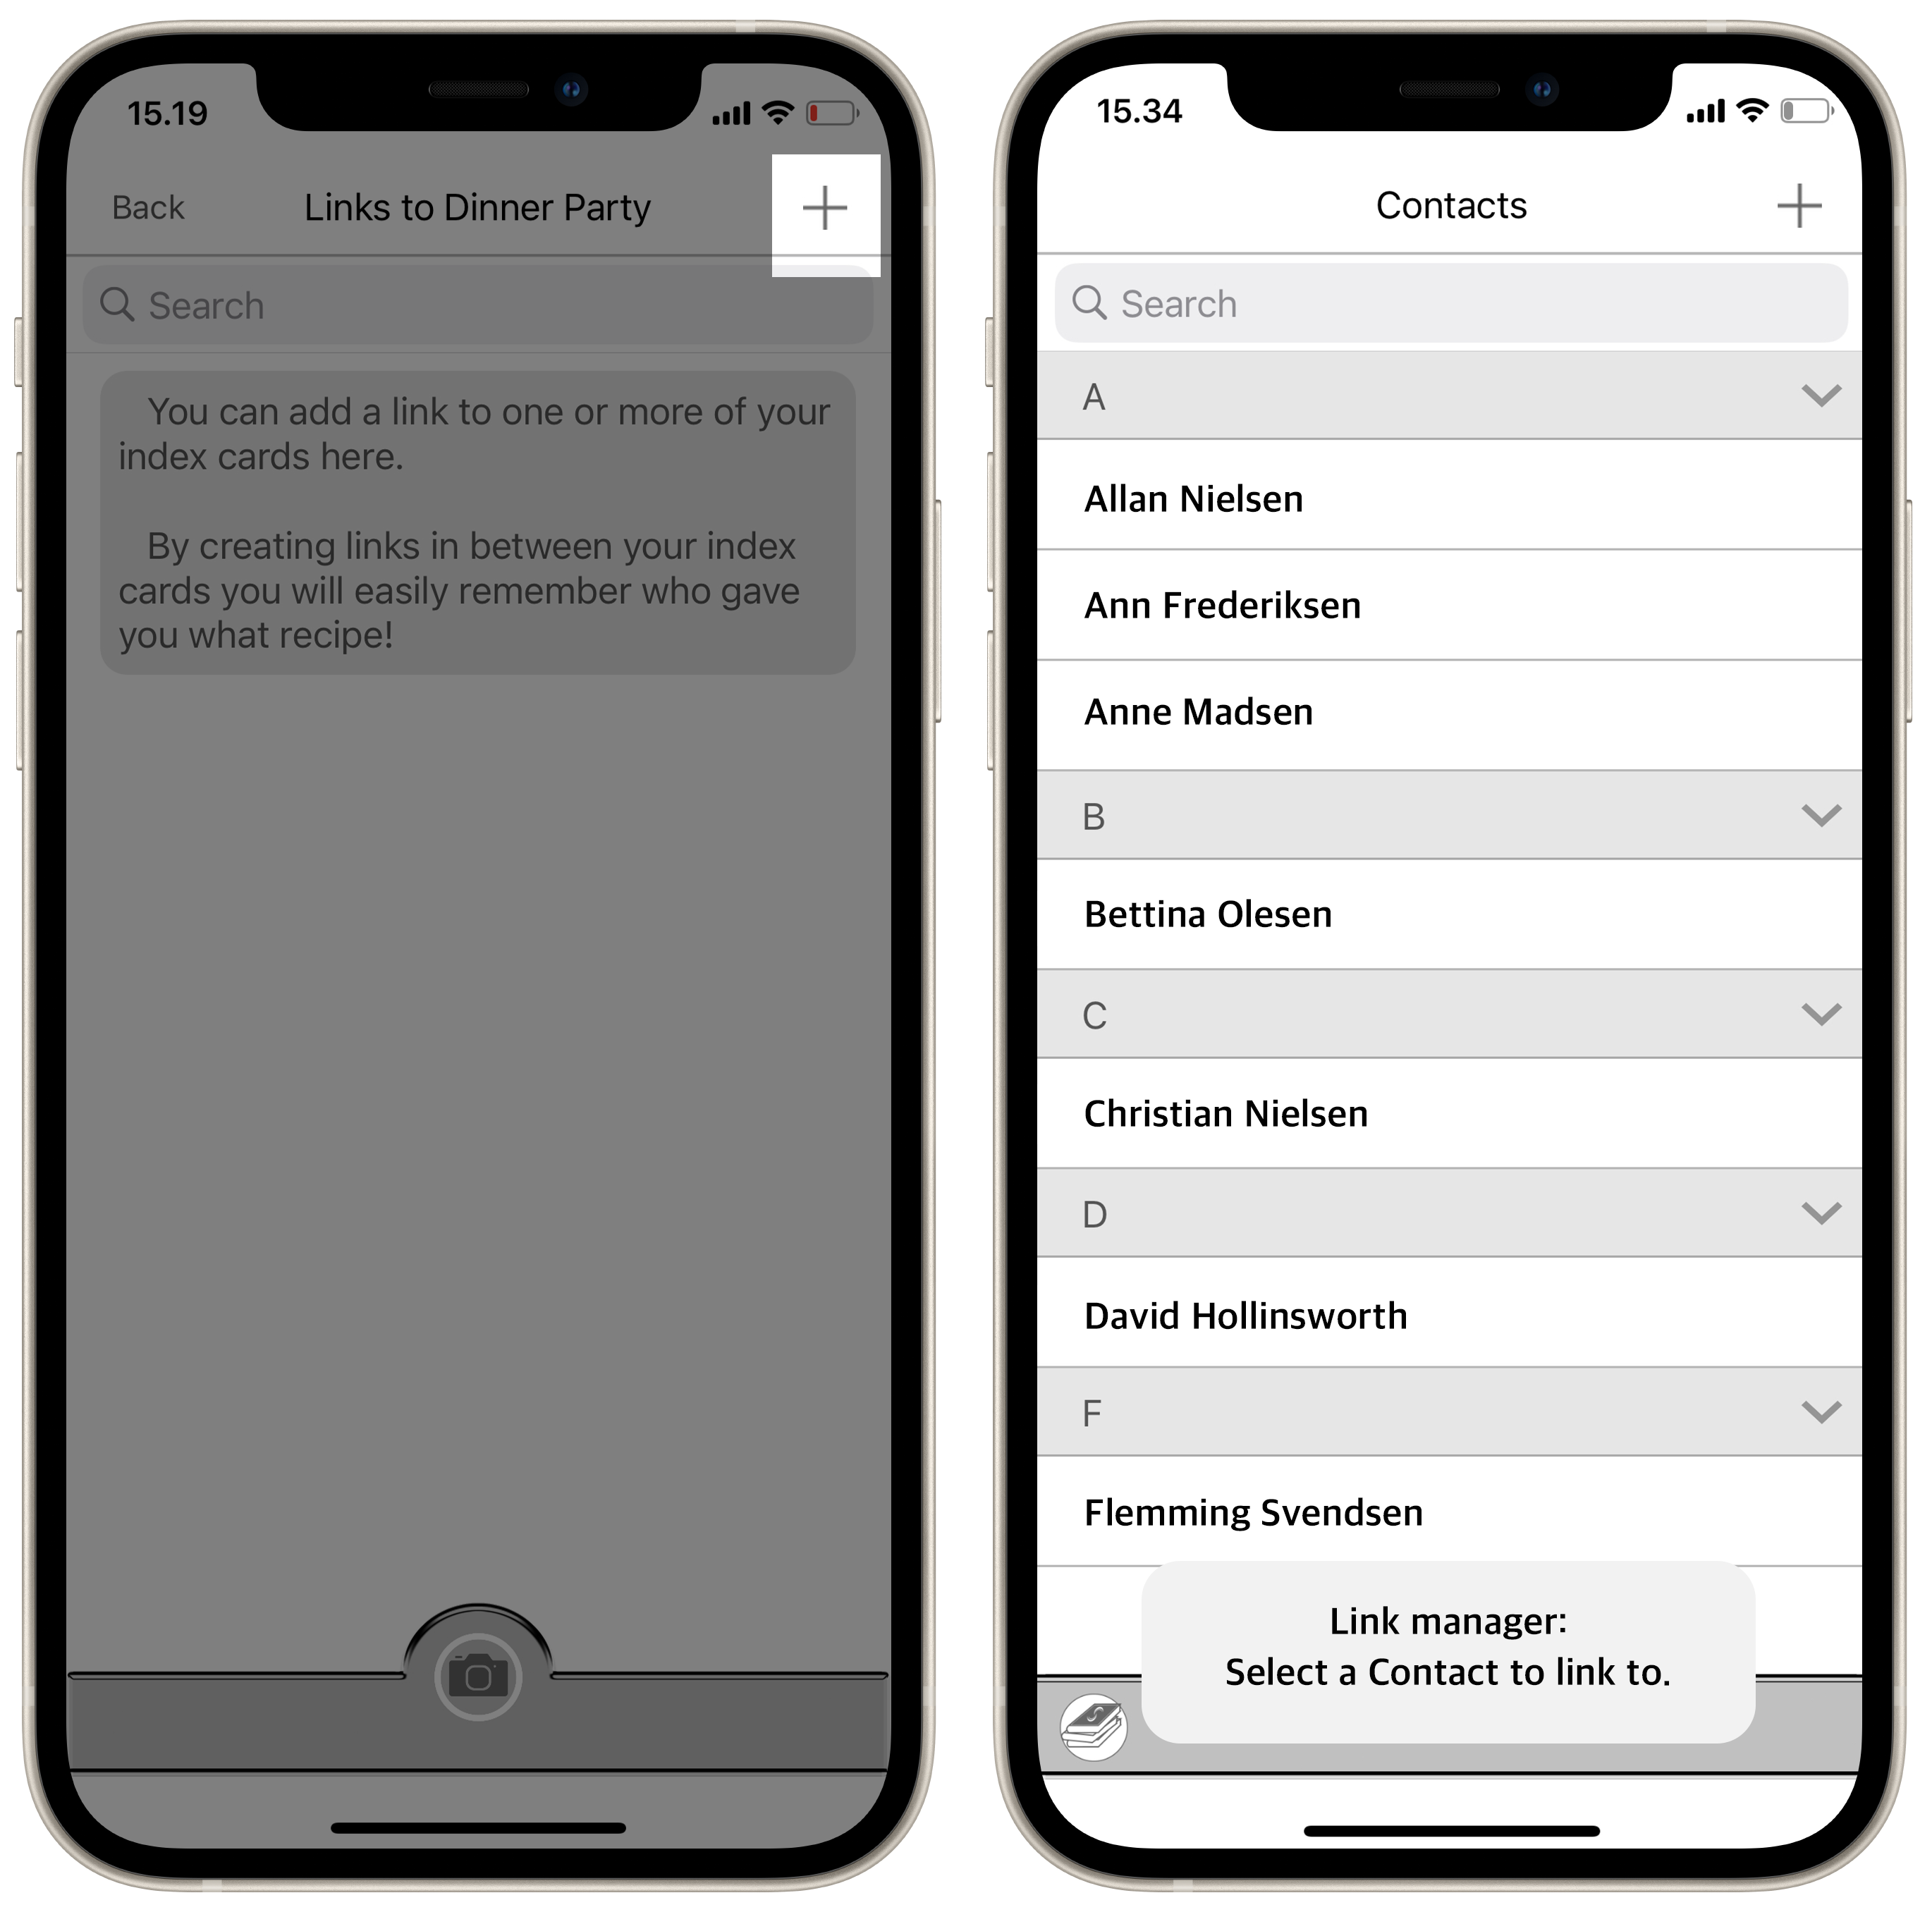

Yes, you can make links between all the index cards! Maybe you want to remember who gave you a recipe and by linking a recipe to the contact you'll always know.
On all your index cards you'll find the "Link button" on the bottom right corner.
Use the "Link button" to create new links and later on to view the list of links you have created to this particular index card.
Try it out:
Now you have to hang in there, this might sound complicated, but honestly it is not!(For this test you will need to have one "Recipe" index card and one "Contact" index card already created)
The test:
You are to host a dinner party.
Create an "Event" index card for this dinner party -> Save it -> Close it.
Now reopen the event -> Click the "Link button" and the Link manager will open -> Click the "+" in the top right corner -> Browse to the contact -> Accept to create a link.
Click the "+" again and link to the recipe the same way.
Click "Back" and exit the event.
Now find and open the index card of the contact -> Click the "Link button".
The link manager will now show a list of all the links you have made to this particular contact. At the moment, this will just be one, the event we just created.
Select the event -> Click the "Link button" again.
The link manager of this particular event will show the contact and the recipe.
But had you linked all the guests and all the recipes to an actual event, you would now have a full list of who was there and what you serve them all.
If you create an event index card every time you host a dinner party, you will always be able to find out, when you served what, and more importantly, to whom!
How about that!
Tip: To delete a link you just pull it to your left and select "Delete".